
How to highlight and annotate web pages on iPhone
Published · 6 min read
Safari on iPhone cannot highlight text on a live web page, but you can do it with built-in tools: take a full-page screenshot, use Markup's highlighter, and save the result as a PDF in Files. For quotes you want to reuse, copying the passage into a note together with the page link works better than any highlight.
This guide walks through both methods, compares them, and explains how to keep highlights findable — the part most highlighting habits get wrong.
How do I highlight a page with Markup?
Markup is the drawing toolbar built into screenshots, Photos and Files. On a full-page screenshot it works like a highlighter on paper:
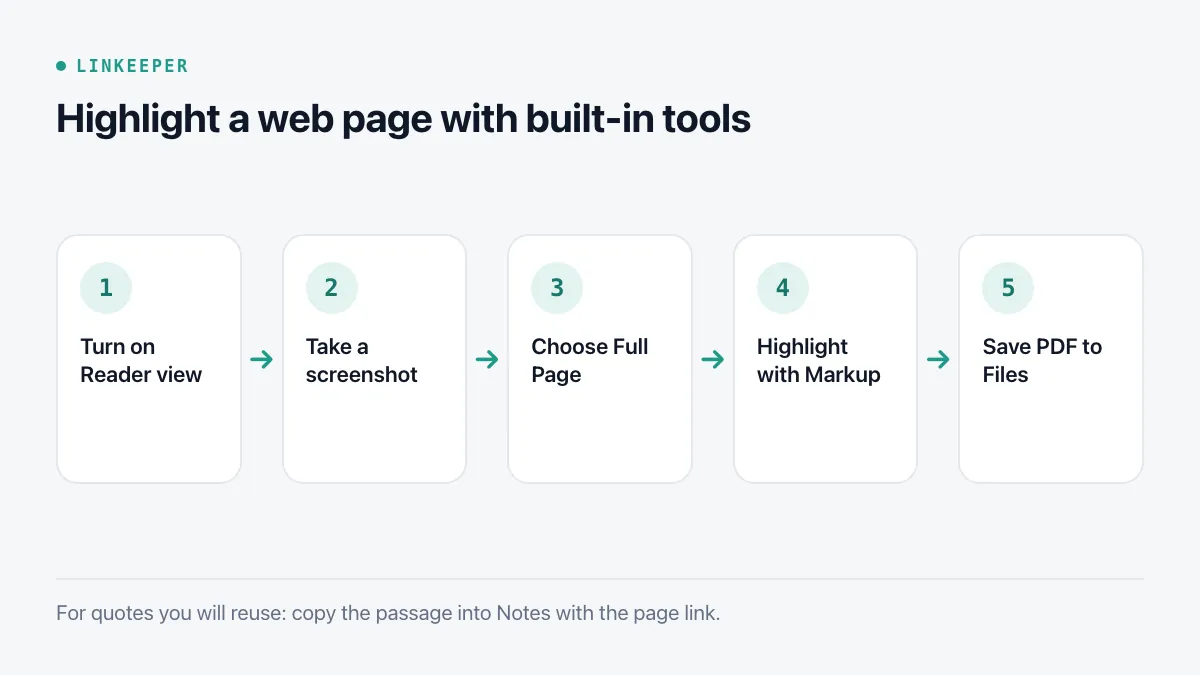
- 1Open the page in Safari. Turn on Reader view first (page menu at the left of the address bar → Show Reader) so you get the article without ads.
- 2Take a screenshot: side button + volume up (Home button + side button on older models).
- 3Tap the preview in the corner, then choose Full Page at the top.
- 4Tap the Markup (pen) button if the tools are not showing, pick the highlighter, choose a colour and drag over the lines you want.
- 5Tap Done → Save PDF to Files and choose a folder.
The PDF keeps your highlights, opens offline and can be marked up again later in the Files app. You can also add text boxes and a signature from the + button in Markup, which is useful for notes in the margin.
How do I collect quotes in Notes with their source?
A highlight is only useful if you can find it again and know where it came from. For anything you might quote or act on, Notes is often better than a marked-up page:
- 1Select the passage in Safari (touch and hold a word, then drag the handles) and tap Copy.
- 2Open your note — one per topic works well, such as “Sleep research” or “Đà Lạt trip” — and paste.
- 3Go back to Safari, tap Share → Notes, choose the same note in the sheet and tap Save. The page link is added with a preview, right under your quote.
- 4Add a line of your own: why it matters or what you will do with it.
Which method should I use?
- Markup on a PDF: best when the layout matters — a recipe with photos, a form, an instruction page — or when you want the whole page frozen as it was.
- Quotes in Notes: best for ideas, research and anything you will reuse in writing. The text stays searchable and editable.
- Both: for a source you will cite, save the PDF as the record and put the quote plus the link in your note.
Whatever you choose, highlight less than you think. A page with half its lines yellow tells you nothing a week later; one or two passages with a sentence about why is something you will actually reread.
How do I find my highlights again?
Most highlights are never looked at again because they are scattered. A simple routine helps:
- Name PDFs with the topic first and the source second — “Sleep – article name.pdf” — and keep them in one folder per topic in Files.
- In Files, use the search bar; it searches file names and, for many PDFs, the text inside.
- Once a week, open your topic notes and turn the best quotes into one sentence of your own. That is the step that makes highlighting worth it.
Where Linkeeper helps
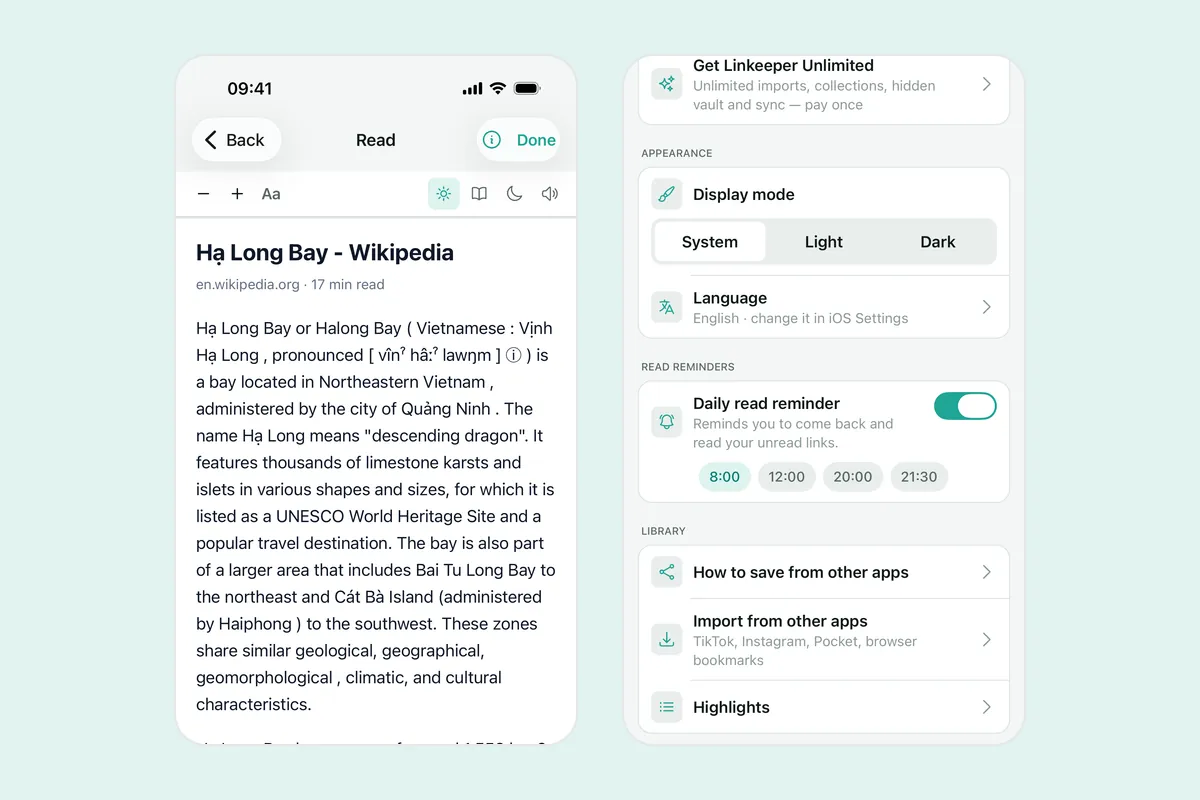
Linkeeper's reader has highlighting built in, so you can mark an article while you read it instead of taking screenshots.
- Save an article from the share sheet in any app, then open it in the reader — clean text that also works offline.
- Select text to highlight it, and add an optional note to each highlight.
- Settings → Highlights lists every highlight across your library; tap one to jump back to that spot in the article.
- Search covers the saved article text and your notes, without diacritics and without a connection.
For a full system around saved research, see how students can keep study links organized.